Have you decided on still life photos to showcase your products? Great idea! We have already talked about the set-up in this article, as well as the purpose of photography and how to correctly approach the technical side. When you’re finally going to take the photos, you may find that all sorts of questions arise. Which lens should I use for still life photos? What kind of lighting is best? How can I achieve a professional result with still life? Read on, because in this article, we’ll be talking about still life techniques.
Indice
Which lens to use for still life photos?
A still life photo must depict the object in the most attractive way possible, while remaining a realistic portrayal. For this reason, a wide-angle is usually avoided. If you only have an 18-55 available, it is best to set it to its maximum values. Wide-angle shots tend to deform objects by warping their proportions in the picture. Have you ever booked a great looking hotel room and then found yourself sleeping in cupboard? Wide-angle photos will make it so that this kind of disappointment will be what people experience when they see your product. For example, if they see a nice slender car in the promotional material, and then find that the real car is a stocky and utilitarian one. In short, if your intention is to make sales, keep the photos realistic. Even if the result of a less accurate photo is spectacular, it could end up just being perceived as deceptive.
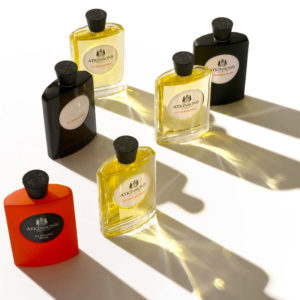
What lighting is ideal for still life photos
Lighting is one of the primary factors in photography, even when it comes to still life. Natural light, however good, may not do justice to your product and fail to highlight its best aspects. The secret is to try different types of lighting. You can start by trying shots with light coming from the left and then another from the right. The ideal is to have a diffuser available to put in front of the light source, to soften the light.
The ideal setting for your still life photos
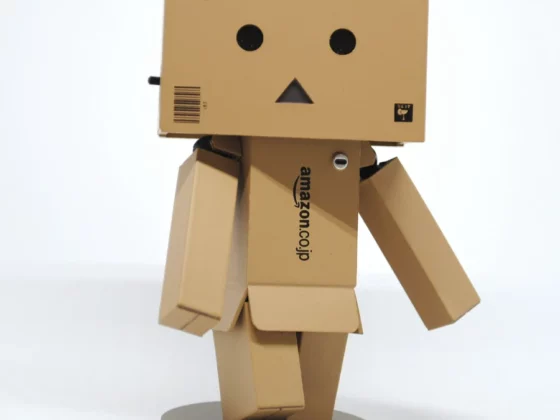
A still life photo must convey a mood that aligns with your product. Something that can help with this is including other items that bring the scene to life. Such props also often help to give an idea of the size of the product. If you feel this would be useful, choose objects that have a well-known size, so that viewers can easily compare it to the product. For instance, you can use natural elements, as in this post by Paco Rabanne. It’s also good to include elements that have associations with the product. For example, a jar of cream with avocado extract could be surrounded by fruits, as this helps to communicate both the content and the size of the product. The possibilities for your scenery are endless. Let’s have a look at three examples.
Contact us for more information about our services
Example 1: the hero product
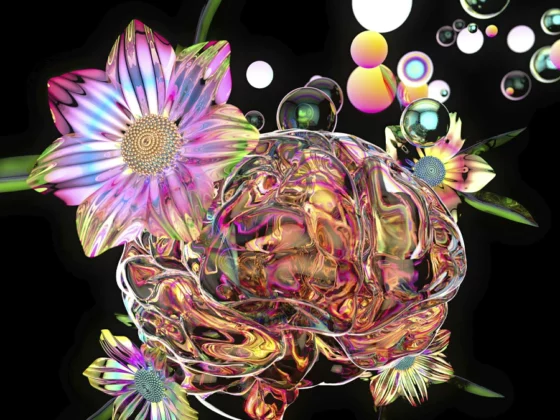
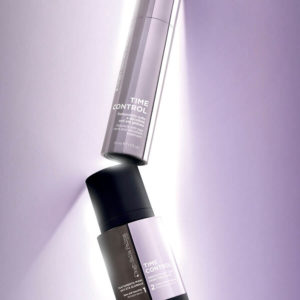
“Product like a hero” is one of the mottos of classical advertising, one you can use today with still life photography. Think of product photos that are for example taken from below to give them a majestic appearance. This works well with products like a masculine cologne, a detergent with whitening power, or a strong bitter. Another way to make the product look ‘heroic’ is to illuminate it from behind. This method works well when the product is made of glass, because the light can make the front visible while creating a magical atmosphere, as in this Lancôme shot.
Example 2: product that stands out
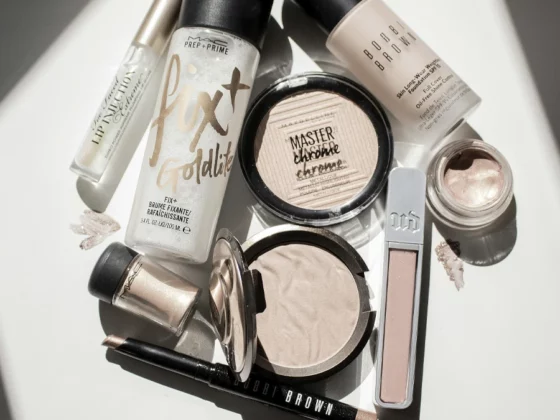
For this, the secret is to have a uniform background so that your product stands out in contrast, so choose objects that have clear visual differences with what you’re trying to take pictures of and set them up in the background. A jar of light-colored cream among several red apples. A base of pearls with a dark bottle rising above them. A background of ice or snow for a colored product, as you can see in this example. With this method, you’ll get the best effect by taking shots of the scene from above. If you have the containers available, you can also use the same thing in a different color. So, for example, you could photograph the bottle of your product among several other bottles, all the same as yours but completely white, without printing or labels. Although, it’s often enough just to use bottles that lack the usual brand, printing, and labeling, because, contrasted against the blank bottles, the ‘marked’ one will stand out more clearly.
Example 3: surprise
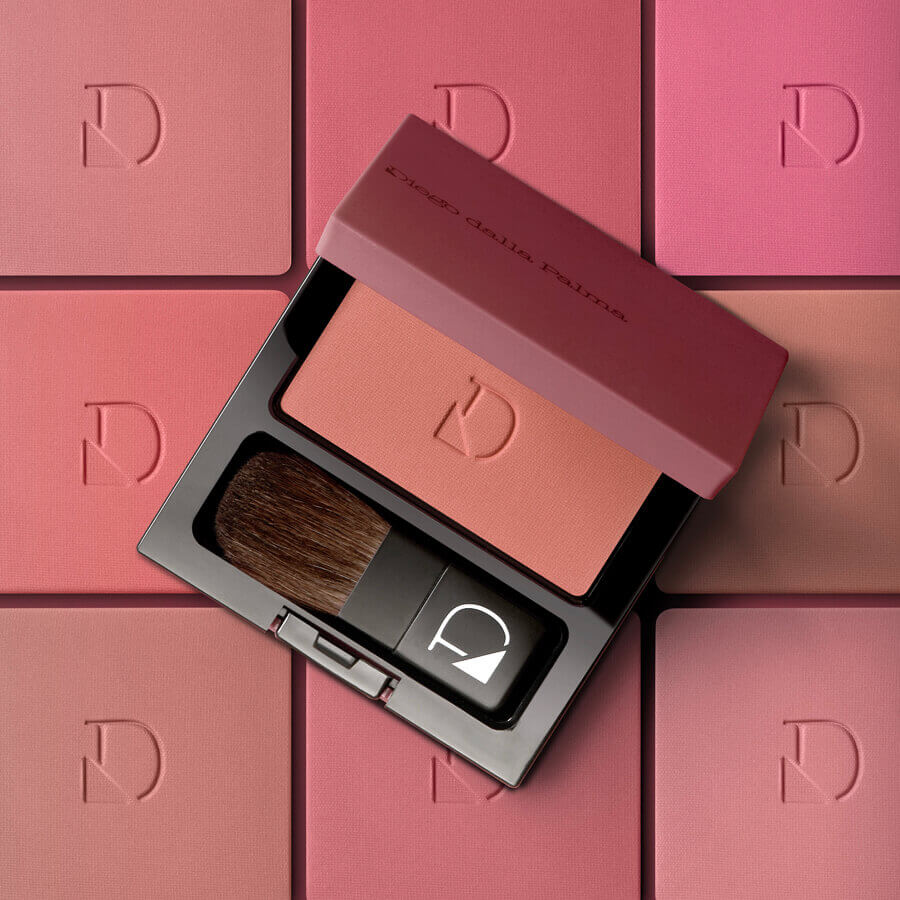
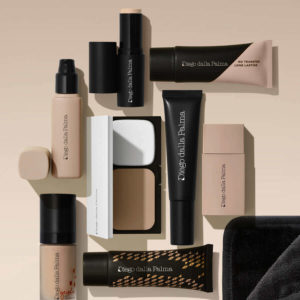
Still life photography can also use surprise to contribute to the memorability of the product. A road, for example, is a background you could use regardless of whether it has anything to do with what you’re selling. Stones or fragments of rock could be strewn everywhere, but then have a pink perfume bottle in the foreground. The lightness and femininity of the product can be enhanced by this contrast. Another example might be gold bars and coins (ok, all fake) being the setting for a lip gloss in colored plastic (a kind of bold contrast that is well-liked by younger audiences), or perhaps some vintage object that brings out the pristine figure of an ultra-modern style bottle. You may even want to try the opposite idea, camouflaging the object, so that viewers suddenly discover it only after looking for a while – for example a pink product on a pink background, where said background also helps show off the texture, as in this particularly effective shot.
Have your still life photos succeeded? Ask yourself 3 questions
We’ve had a look at some good tips and tricks for still life photos full of personality. To ensure you’ve got a good result, ask yourself the following questions:
- Do they convey the same personality as your products and your other usual marketing? If not, is this difference deliberate?
- Are they suitable for the context they’ll be seen in? Try to go beyond the beauty of the image itself, and consider the audiences that will see it.
- Do they need some explanation? If yes, consider inserting text directly into the scene, or including a printed sign, banner, or handwritten card in the photograph.
If you want to go even deeper into the theme of still life, keep following us.


