Photography has an important role in sales. You may have innovative and interesting products, but before you sell anything, you’ll need to draw customers in with a good picture before you can tell them anything about your products. So how can you take good photos of your products? Regardless of the answer, this is an essential question. If you sell online, it’ll be even more crucial, because customers’ only way to have a look at the product will be in the photos you put up. Although even if you’re selling in stores, this will still be important because before choosing to sell your product, retailers will have to see it in a catalog. Find out the essential techniques you’ll need for a successful product catalog, both on paper and online.
Indice
Photograph cosmetics: Useful image types.
The first step when taking pictures of your products for a catalog is to think about what kind of images you’re going to need. The product may just be a bottle with something in it, but nevertheless there are several ways to capture it in photos. Let’s use a jar of cream as an example.
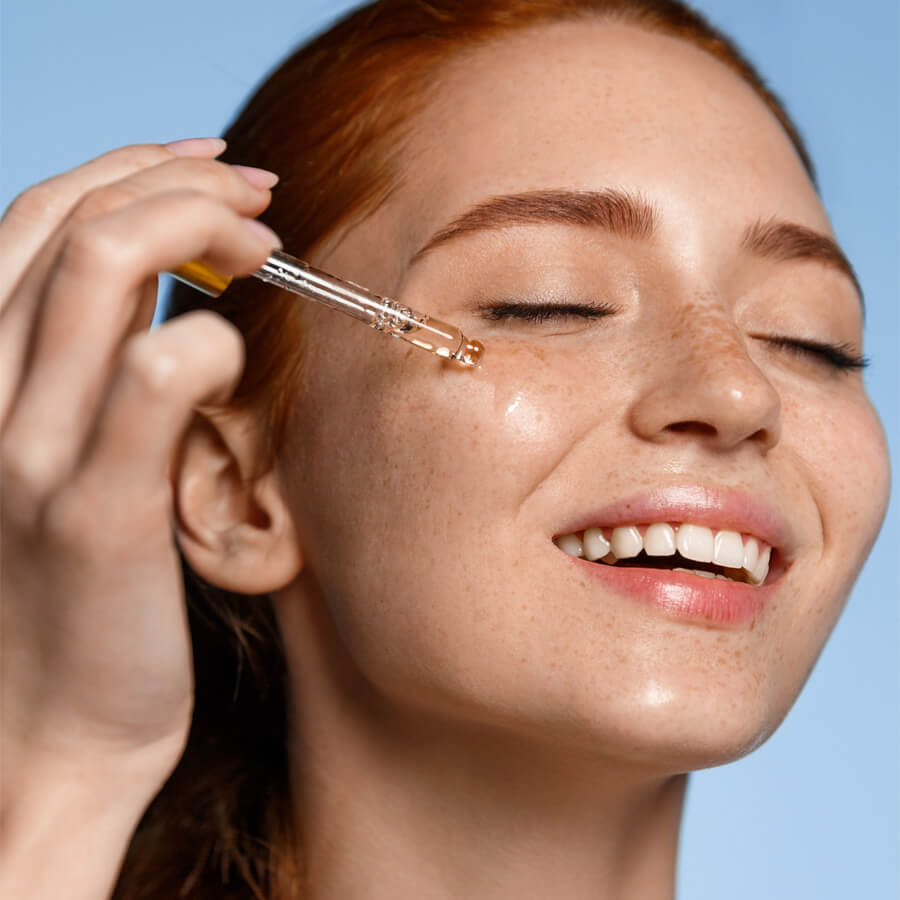
- Product in use: a model using the product.
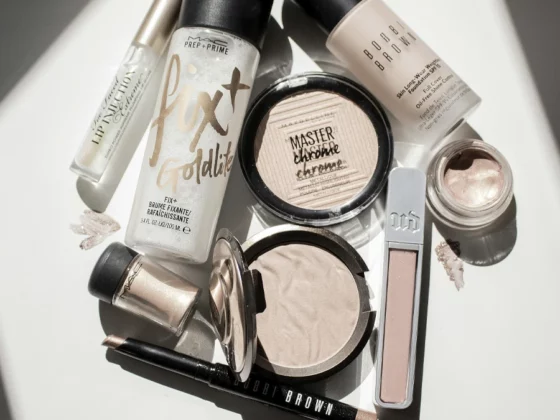
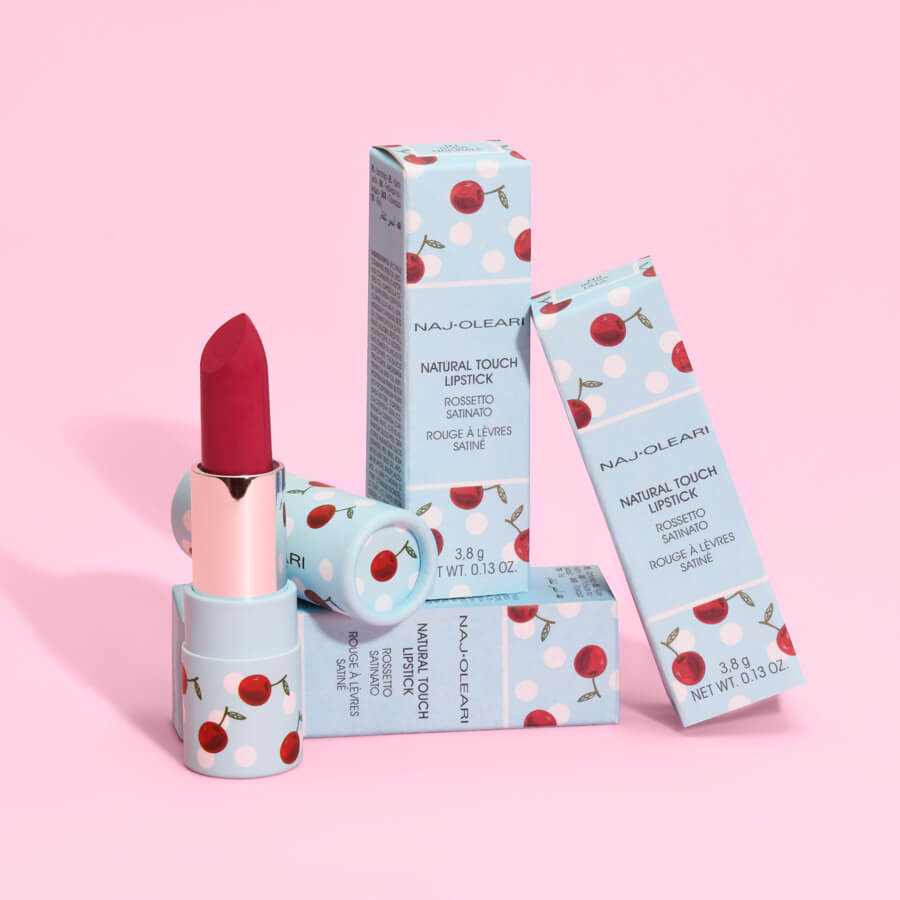
- Product on a background: photos with a background that expresses the products’ personality, for example an organic cream surrounded by nature.
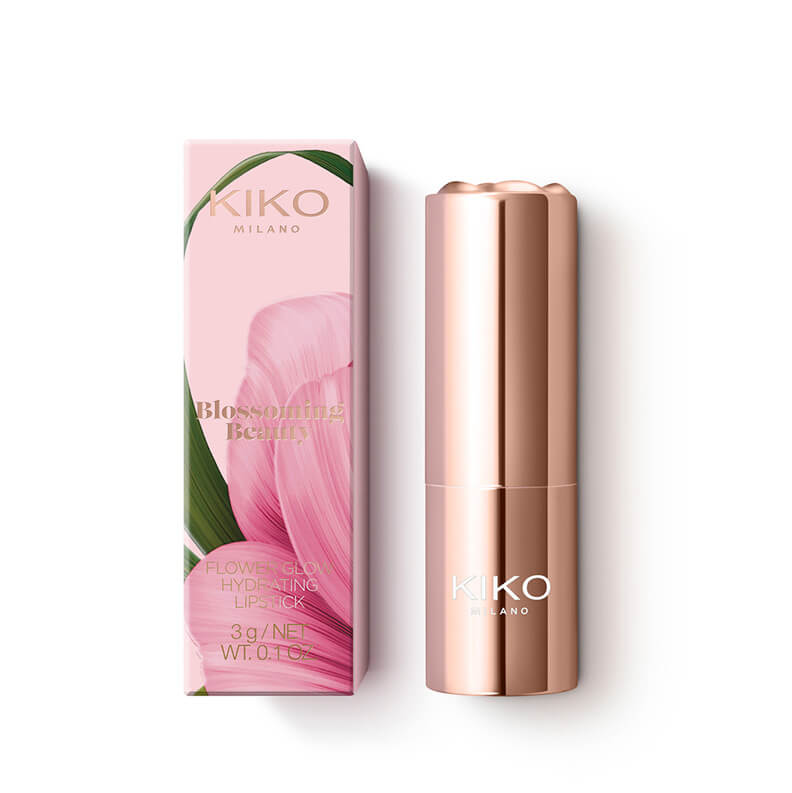
- Product’s outer packaging: displaying the box.
- Closed product: the jar with its lid on.
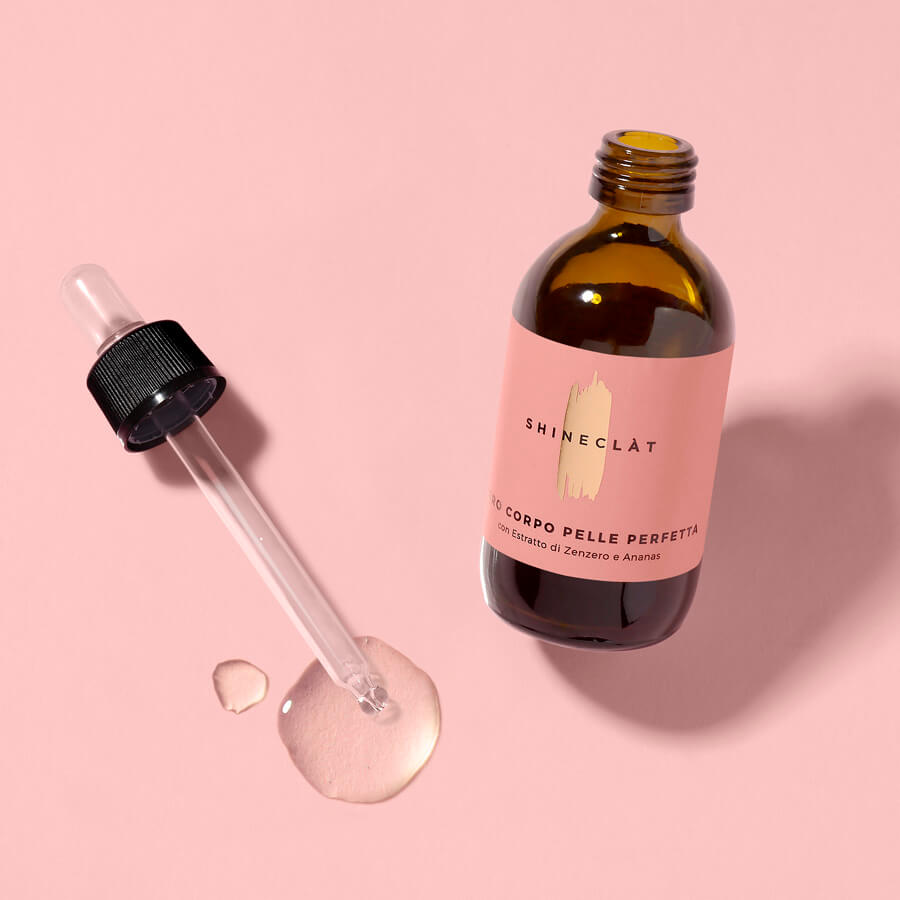
- Open product: The jar with its lid off, and the contents visible.
- The contents: A photo that gives a look at the texture and color of the product. This kind of shot can be very effective, but requires the expertise of a professional.
Photograph cosmetics: Differences between physical and online catalogs
Start by examining your competitors’ catalogs and see what differences there are between the physical and online catalogs you find.
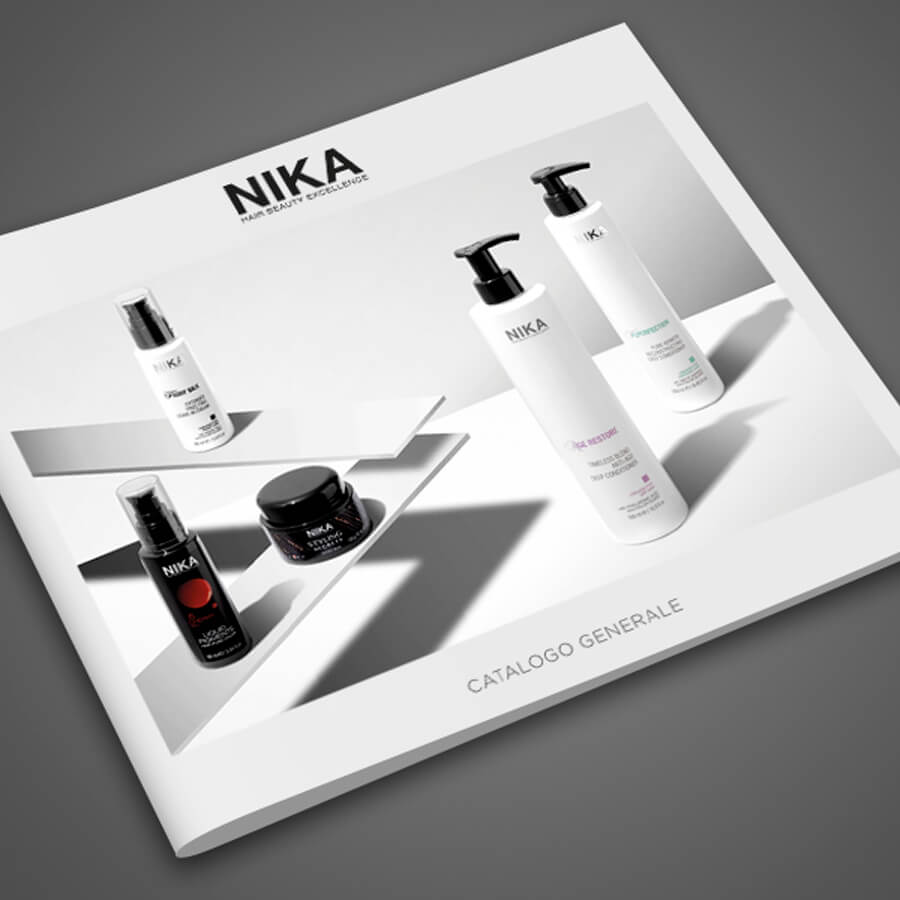
In paper catalogs, you might want to use product on background images, which convey the personality of your product, as well as a photo with a neutral background, and another displaying the texture. When printing, these will need to be high-definition images.
In online catalogs, there are usually a greater quantity of images, and this can make a difference to how you should approach things. Indeed, users are used to having a complete gallery of photos for their perusal. They want to see the product from all sides, closed and open, as they want to really understand what the product will look like and how they can use it.
Once you’ve established what images you need, make a list of them on excel or whatever else is available for this. It’s going to be helpful to avoid wasting precious time during photoshoots. Not sure where to start? Let’s take an overview of the available techniques for you to use even if you’re taking your own photos.
Contact us for more information about our services
Taking photos of cosmetics at home with natural light
You can take photos of your cosmetics products at home with just the natural light from your windows. However, for this you may need a reflective panel, a large rectangle of white polystyrene that reflects light. If you just place your cosmetics product on a table and open the nearby window, your product will be well lit, but for a better result, place the reflective panel on the opposite side as well. This way, your cosmetics product will get a more balanced and harmonious lighting.
To get the best results when taking photos of your cosmetics products, you may need to use a tripod to keep the camera perfectly still. This way, you’ll be able to take photos even in weak light, when you’ll have to keep the lens open longer.
Photograph cosmetics: Creating a light box
The word ‘photography’ comes from the combination of two ancient Greek words to create the meaning “write with light”, and indeed, light is an essential element for good photography. For at-home sets for taking photos of small products, you can make a light box, a box in which light comes from (almost) all sides so as to evenly illuminate all sides of your cosmetics product. Try this; take a box, with a cutter, take off the side facing you – the one you’ll be taking the photos from – and then do the same for the two sides, but leaving a frame of 7/8 cm. Put tissue paper or baking paper in these two side holes, and then shine two lamps on both. Place your cosmetics product in the center and observe the lighting. It should now be evenly distributed across the surfaces of the product. You can find illustrated instructions for this online, but if you’re in a hurry and aren’t great with your hands, you can also buy a light box or photo box from just a few tens of euros. At this point, you can start taking photos as things are, or set up a uniform background at the bottom and sides behind the product, so as to avoid the horizon line.
Photograph cosmetics: Choosing your background
The background for your mini set or light box must be rectangular and made of a flexible material like paper, plastic or fabric. Place it inside and place your cosmetics product on it. You can use white or colored paper, fluorescent plastic or even a thin sheet of metal. With fabric, you can do some tests with different textures and colors. In any case, check that your background has some contrast with the product to ensure it stands out, unless you specifically want to make a photo with just one single color as a creative choice. One more tip; use gloves to adjust your background and product, as everything under the lens must be extremely clean. Even just your fingerprints can leave marks on some materials that will be visible in the final image.
Photos of your cosmetics for online catalogs
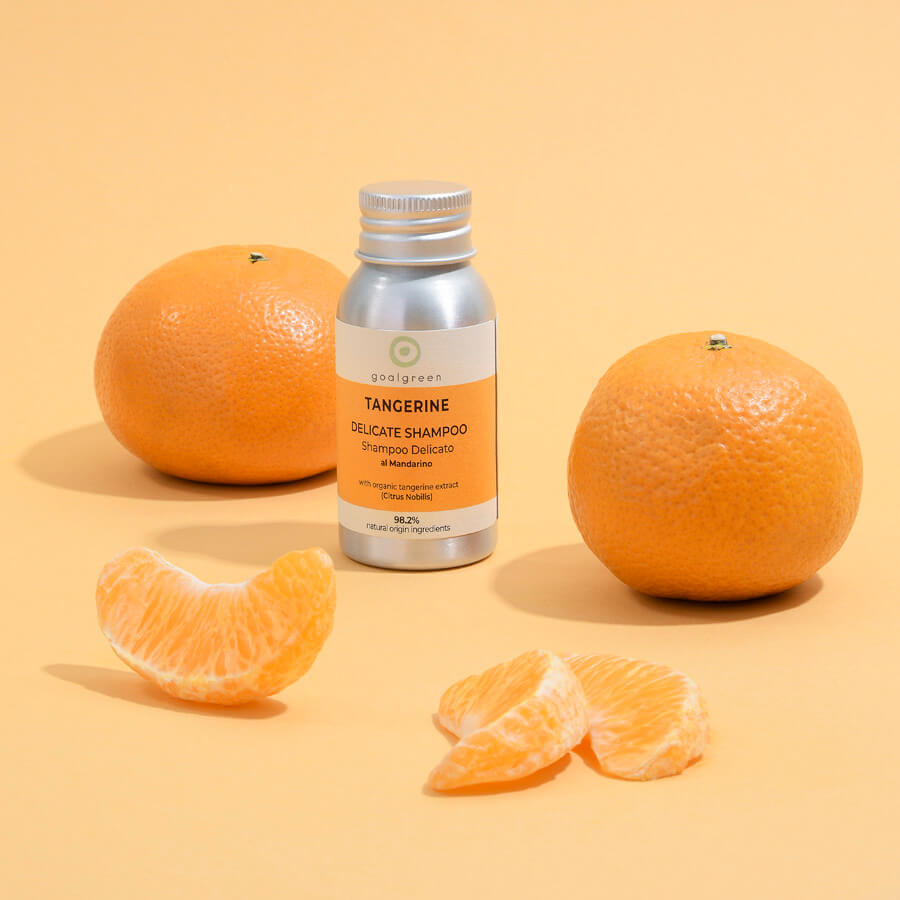
As we’ve said, products up for sale online need to come with photos from many different angles. There are also various features that can further improve your images, such as a zoom function to allow customers to examine the product more closely. For products that are particularly expensive, or where aesthetics plays a more prominent role, you may also want to include a 360° 3D photograph that lets the customer look at your product from any angle. Remember to optimize your images for search engines, giving them simple and descriptive names and making use of all relevant SEO techniques.
