So, you’ve been told to do a photoshoot for your products, but perhaps you don’t have a clue where to start. Worry not; in this article we’ll go over all the most important things you’ll need to get your perfect photoshoot. We have already discussed your choice of photographer and potential costs, and now we’ll take a look at what happens on the day of the photoshoot. Ready? Let’s begin.
Indice
Starting point for a photoshoot: the brief
The word ‘brief’ is widely used across many industries, in particular for creative work. A brief is a meeting in which instructions for work are given, and in advertising involves providing all the necessary information to be included. Here are 4 points you can’t overlook for a photography brief:
- Purpose of the images – The photographer must know what the images are going to be used for. Are you making a giant poster for a billboard, or images for an online catalog? Creative and practical choices will change based on your goals.
- Personality of your products – Prepare a basic explanation of your products and their main features so the photographer can know what kind of atmosphere to cultivate. Try to answer this question: What does my product do for the customer?
- Products’ target market – Briefly explain who your products are for; e.g., gender, age, and price range.
- Time – Make it clear when you need the photos for (‘for online publication by…’), and also explain to your photographer whether the images need to last a season or a couple of years. This will tell them how to best set up the shot.
The difference between still life photos with a scene background and a limbo background
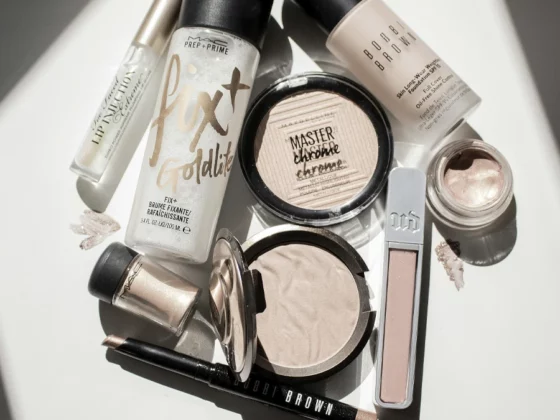
In photos with a scene background, the product is put in a small set, perhaps with other small objects around it, or with elements reminiscent of its ingredients or its reference world. This kind of background serves to communicate the ideal atmosphere, as well as the personality, of your product. Photos with a limbo background are by contrast a picture of the product (or some detail of it) on a white or otherwise uniform background. This is a very important tecnique especially in online sales because it allows the customer to look at all the different aspects of a product. Moreover, if it’s a cosmetics product, you can also ask for a texture shot, which will show off your product’s materials, like this. Just look at the most famous sites – Chanel has 2 photos produced on a limbo background, as well as a texture shot photo.
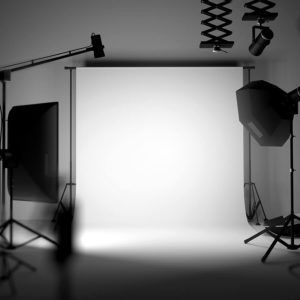
Where to set up a photoshoot
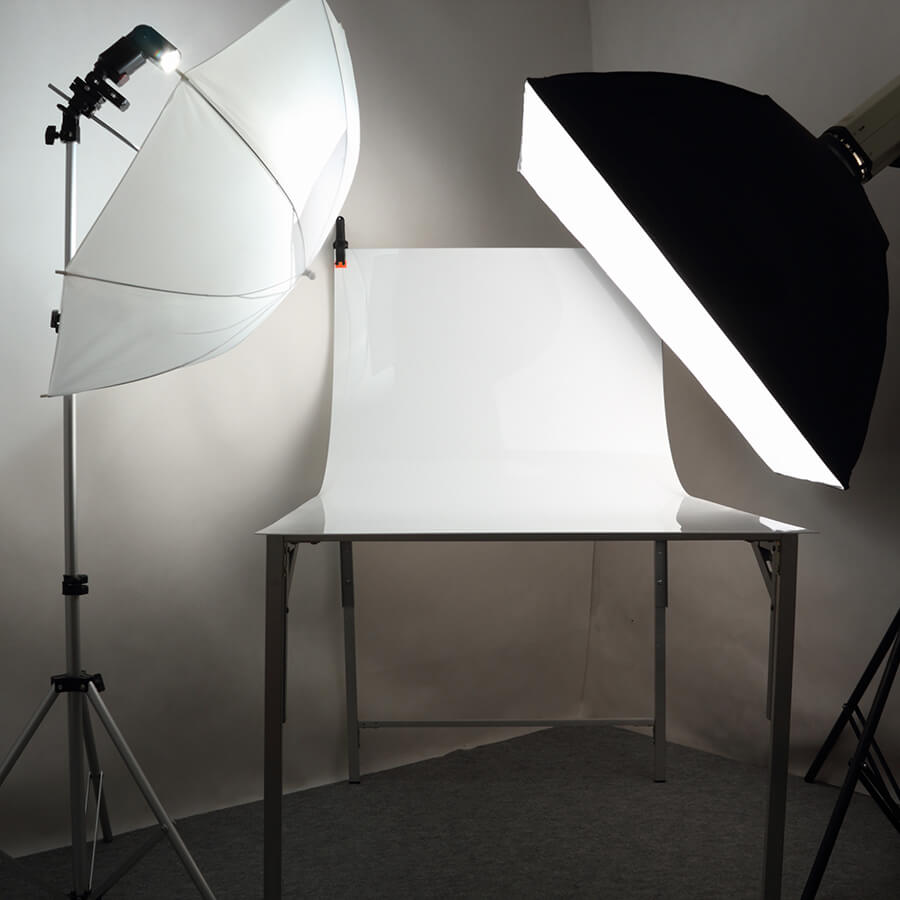
Usually, the photoshoot will be done in the photographer’s studio. This is not just a matter of having enough space – even if your company has an entire warehouse, a photography studio is still the best place. First of all, this is because it’s made specifically for this purpose, so it will have large, bare walls, as well as all the necessary tools, like lights, reflective panels, backdrops, and of course all the actual photography equipment. In some cases, photoshoots can be done outdoors, but this is a more expensive choice due to the need to transport all of the equipment, and your success will depend on the weather. Bad weather will force you to postpone everything, and you’ll still have to pay the photographer for their time. Even if you envision your cosmetic product surrounded by grass and field, it’s better to go with indoor photography, perhaps using a set with green elements or a nature background, as once done by Yves Rocher.
Contact us for more information about our services
How to make the set for your photoshoot
Your photographer will take care of the lighting, the technical details, and the set design, but on this last point you can give some of your own suggestions. Continuing with the example just mentioned, if you’re having photos taken of a range of natural cosmetics, you could suggest having a set with some natural elements, like in this example. If you need photos of a lot of products, for example for a catalog or an online store, you can ask for a couple of test shots before leaving things to the photographer.
How to do a DIY photoshoot
This isn’t really a job you can entirely improvise, so you should only try DIY photography if you’re at least a decent amateur photographer. Even though it’s all already in your head, don’t skip the briefing – prepare the documents we saw in the first section anyway. It will serve as a guide throughout the photoshoot, and will help you keep your goals clear in mind. If you find yourself out of ideas, try taking a look at some professional photography, such as these examples. Use them for inspiration, and also as a standard to meet with your own work.

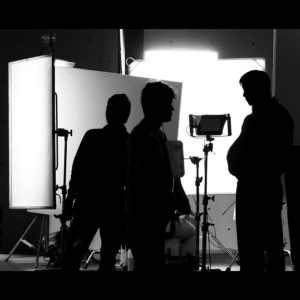
How to participate productively in a photoshoot
As the client, you can participate in your photoshoot, at least in the first few shots, to approve the setup before the photographer starts taking pictures. There are some unwritten rules to follow that will make the photographer’s work less difficult and therefore more effective. Here’s what photographers would expect from the perfect customer.
- Clear instructions. Both in the briefing, and in your feedback to the first few photos. When you see the photo, clearly state your opinion without hesitation.
- Silence (as much as possible). Photography is a craft that requires concentration. Put your smartphone on silent and only talk between shots. Silence is a sign of respect for the person handling your products.
- Punctuality. Valuable in all domains, but especially so in this one, where you’ll be paying your professional by the hour.
- Respect for the rules. Are you wondering how to dress for a photoshoot? In comfortable and layered clothing (in some studios it can get very hot, and models may need to change). Ask where you can store your bulkiest personal items like your computer, as well as where you can stand without obstructing the lights or getting in the way.